GitLab
Scenario Introduction
Overview
GitLab social login allows users to log in to third-party applications or websites securely using GitLab as the identity source. Configure and enable GitLab social login in GenAuth to quickly obtain basic public information of GitLab and help users log in without passwords.
Application Scenario
PC Website
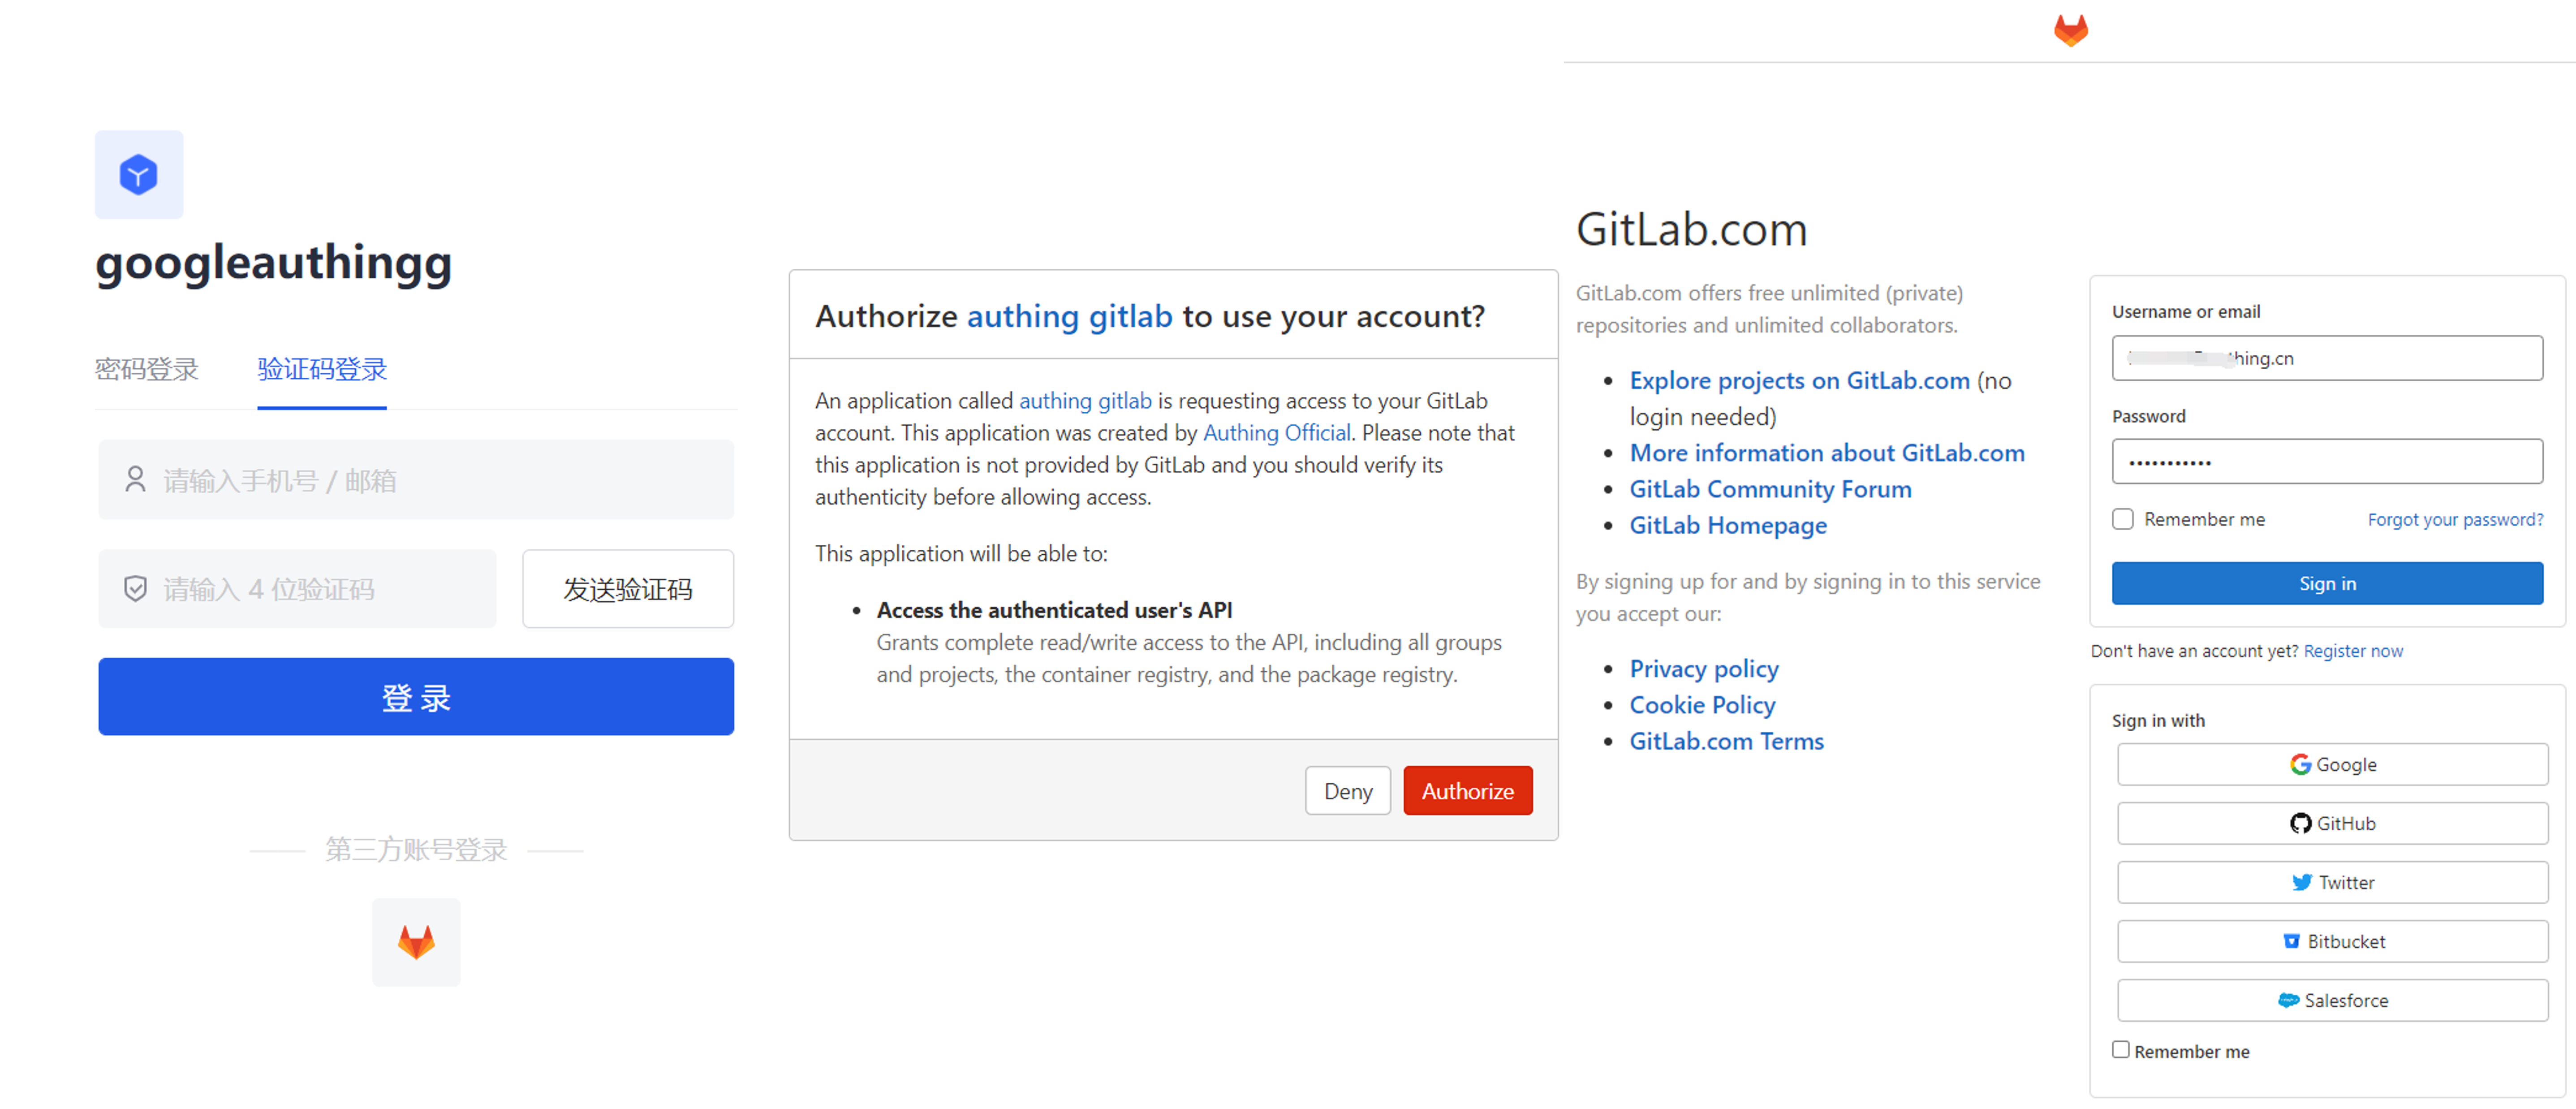
Terminal User Preview
Preparation
- If you don't have a GitLab account yet, please go to GitLab.com to register an account.
- If you have not opened a GenAuth console account, please go to the GenAuth console to register a developer account.
Configuration steps
Step 1: Configure GitLab's unique identifier in the GenAuth console
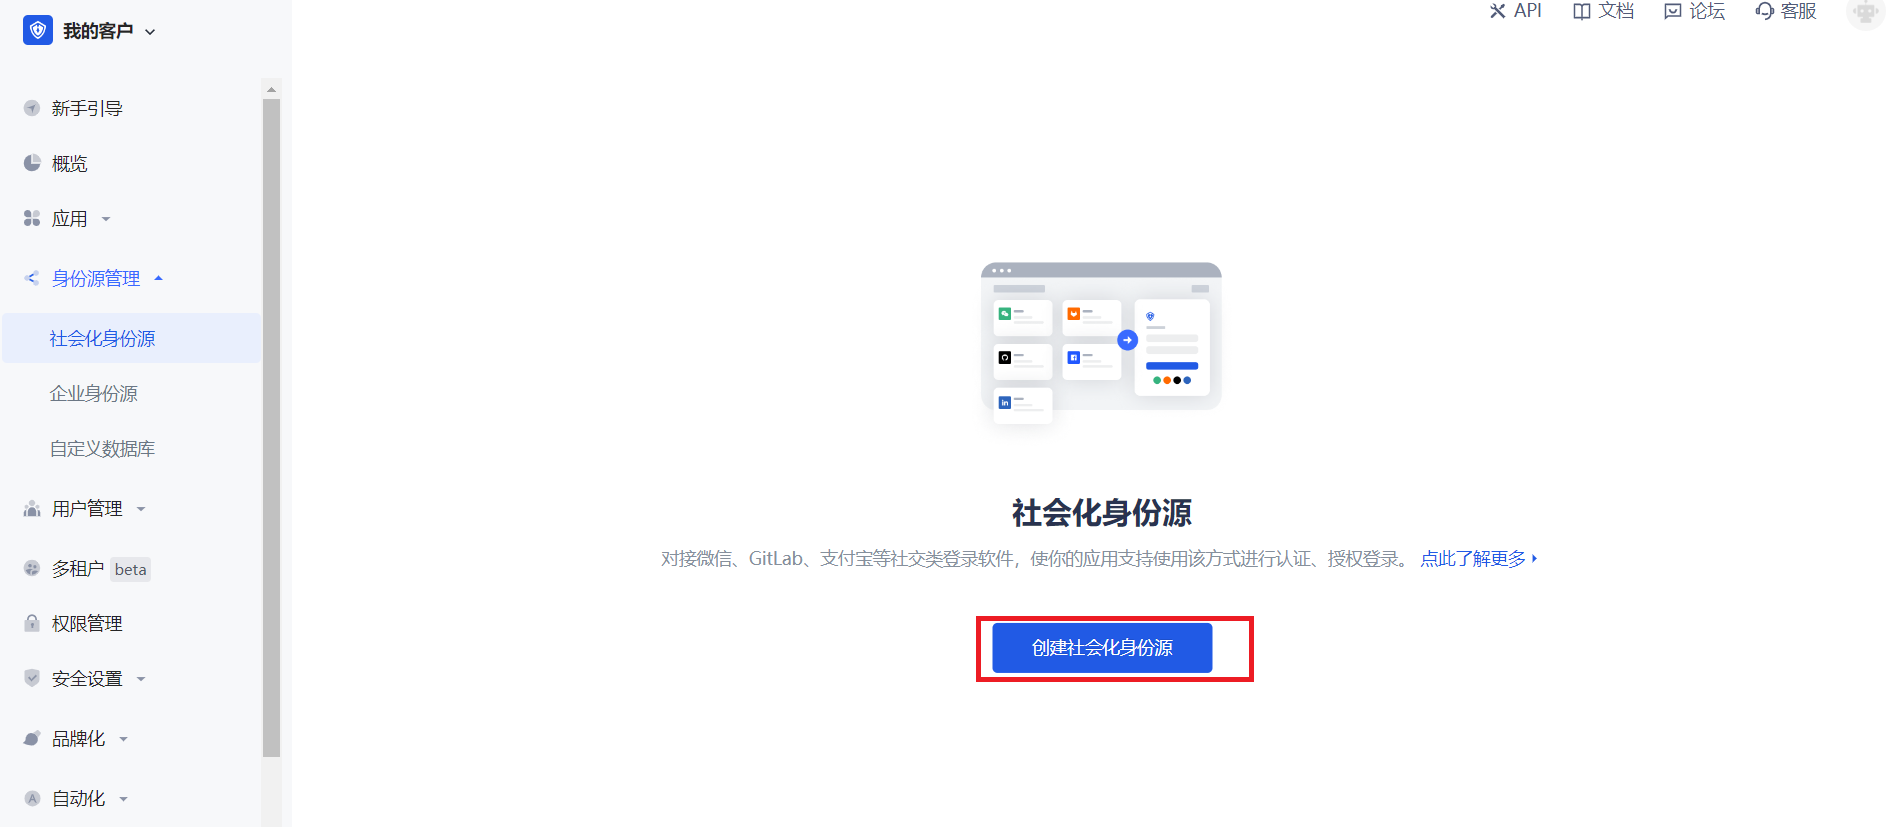
- In the GenAuth console, in Identity Source Management->Social Identity Source, click the Create Social Identity Source button to enter the Select Social Identity Source page.
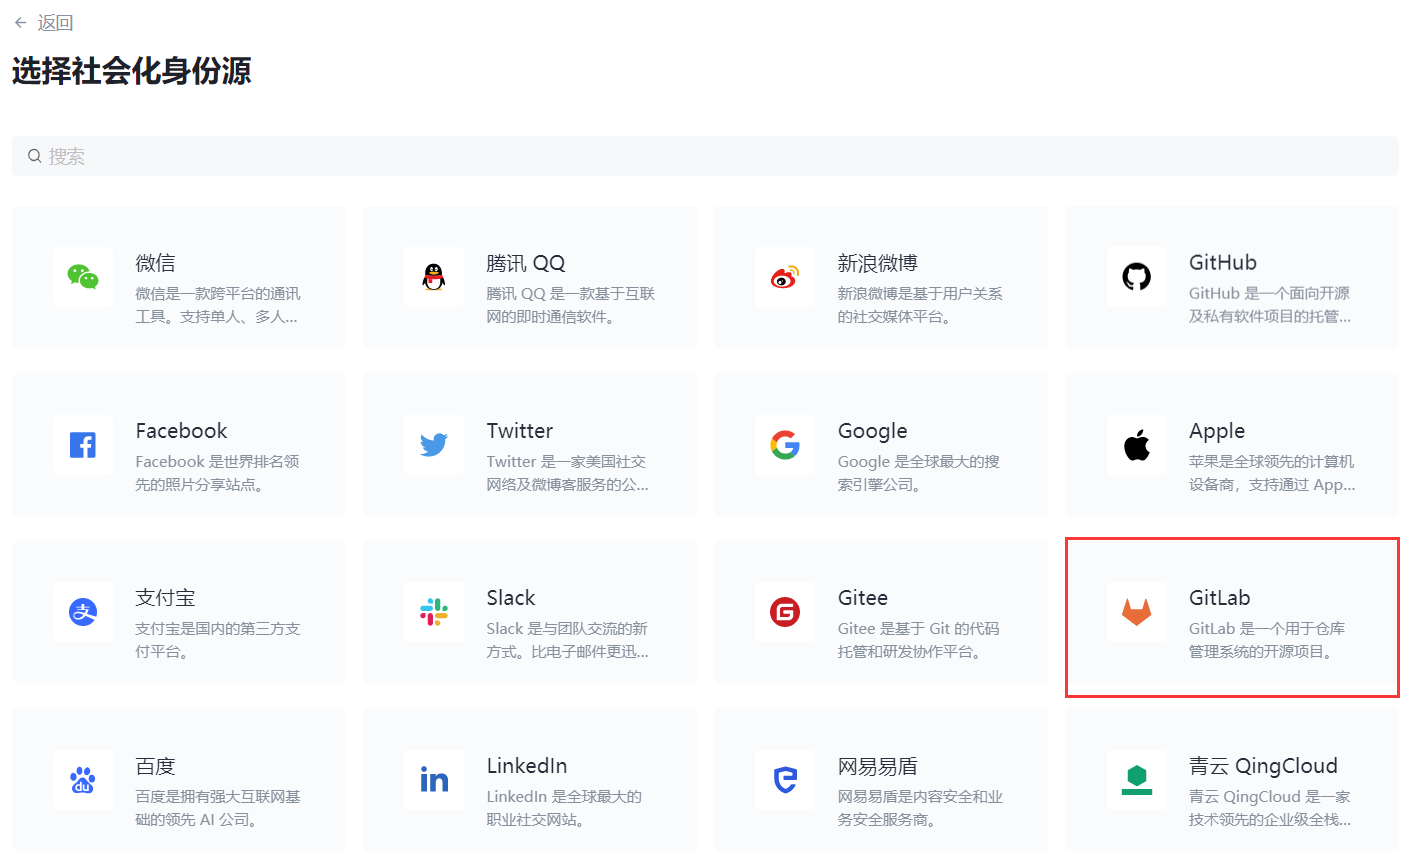
- Click the "GitLab" card.
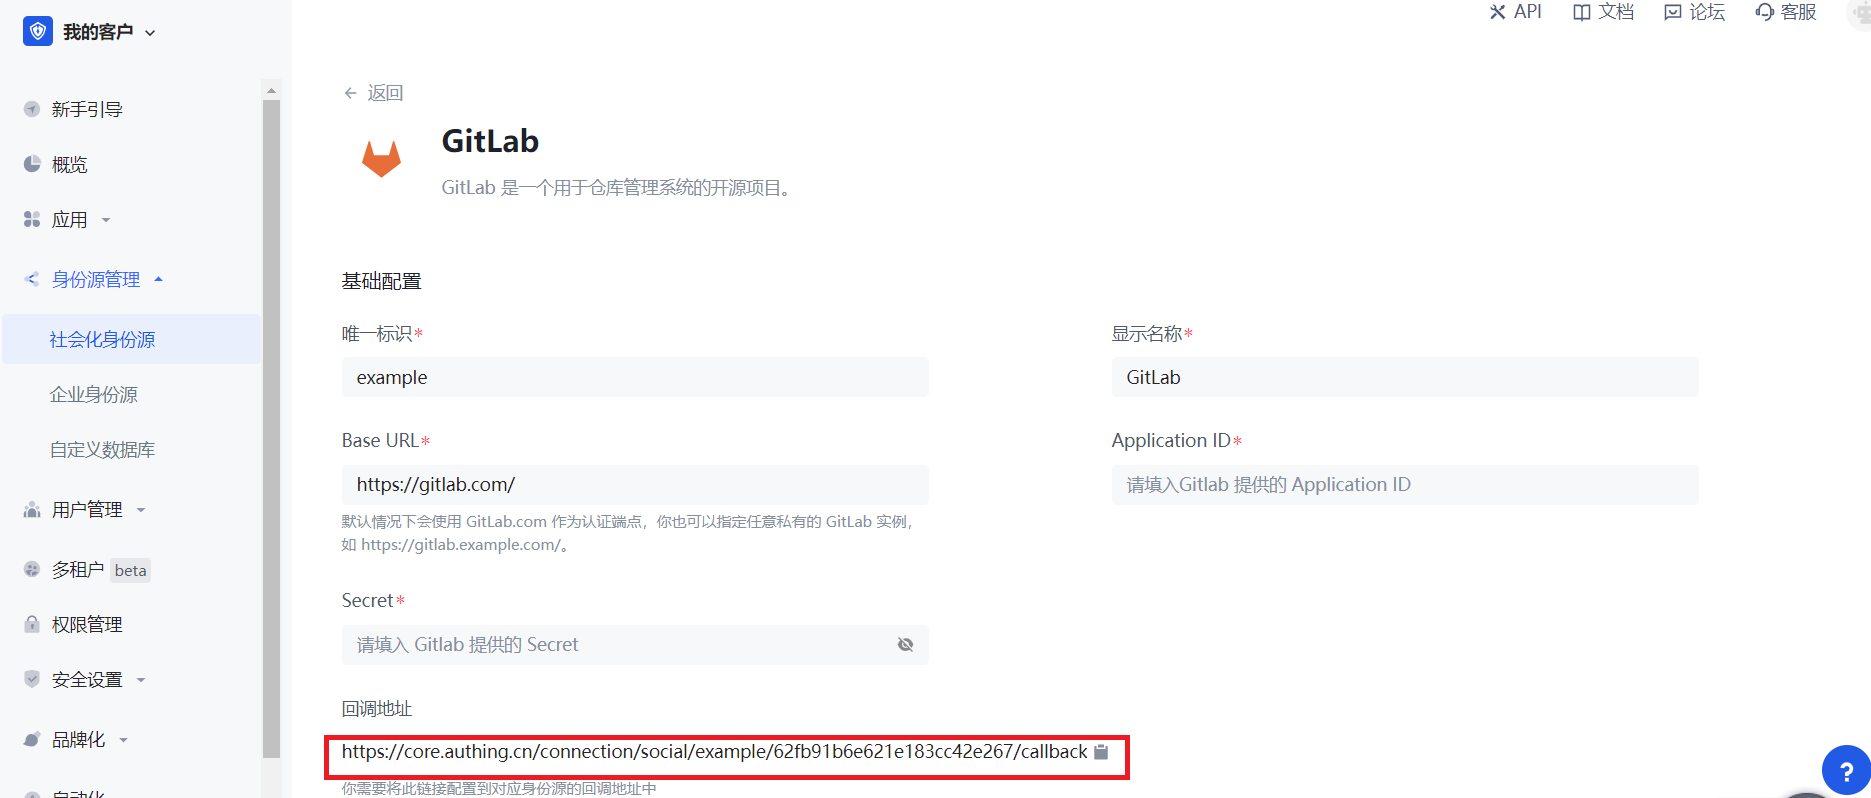
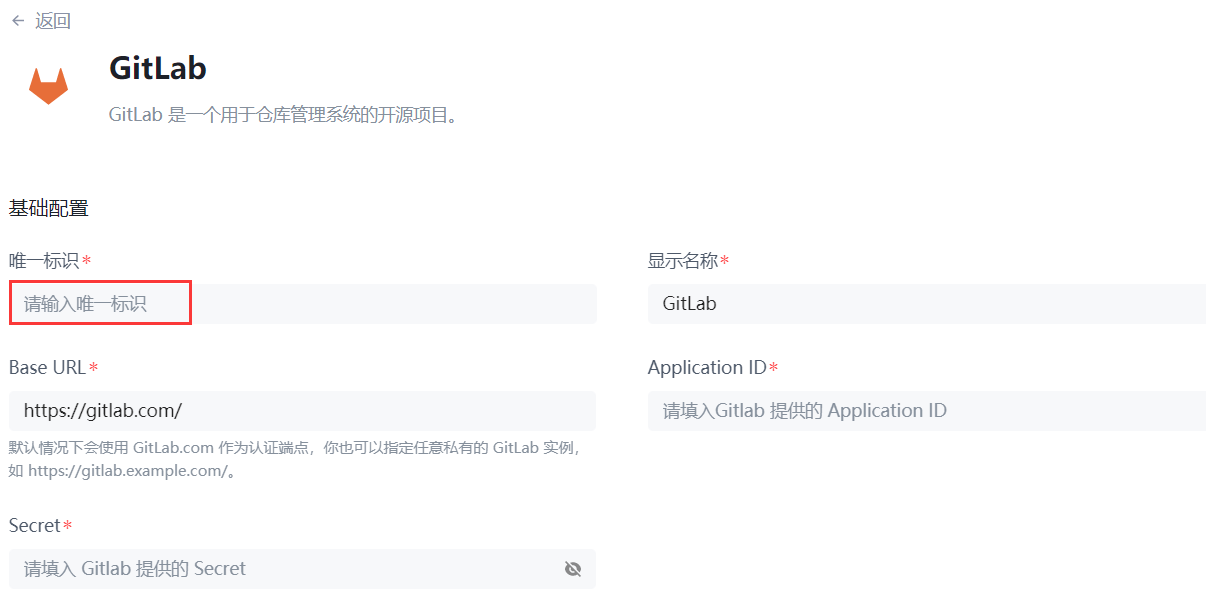
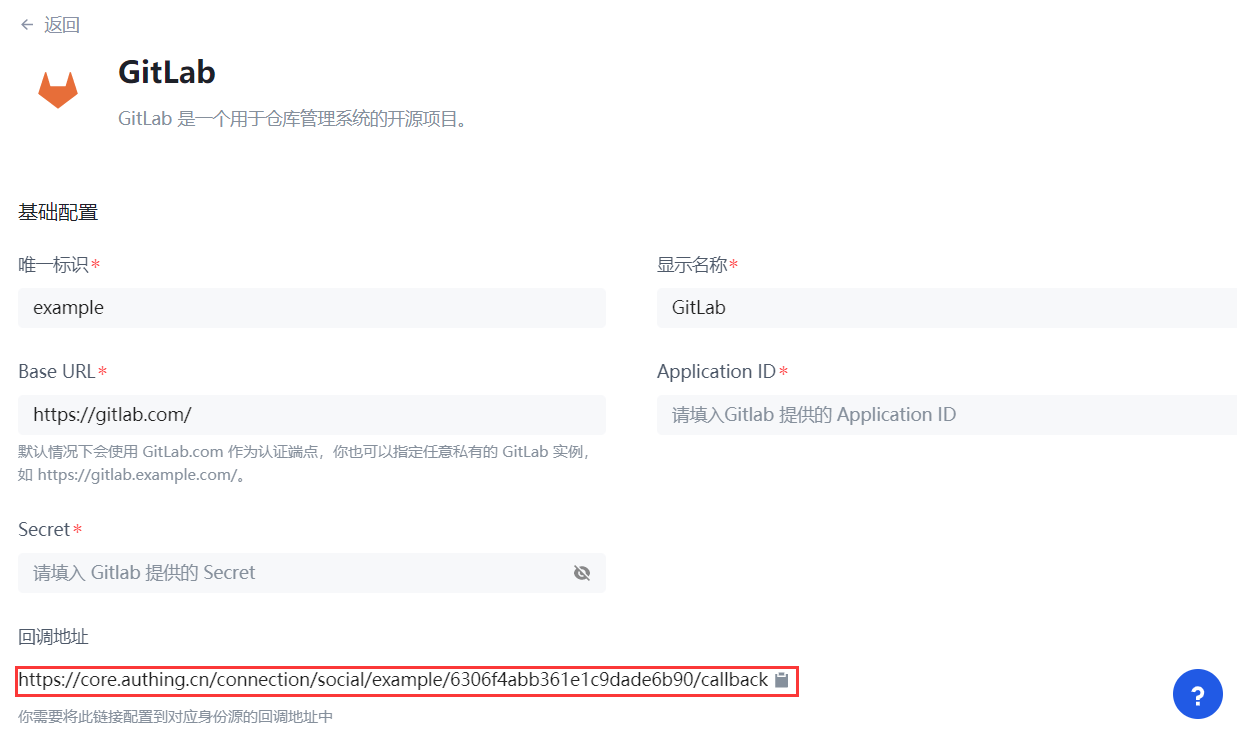
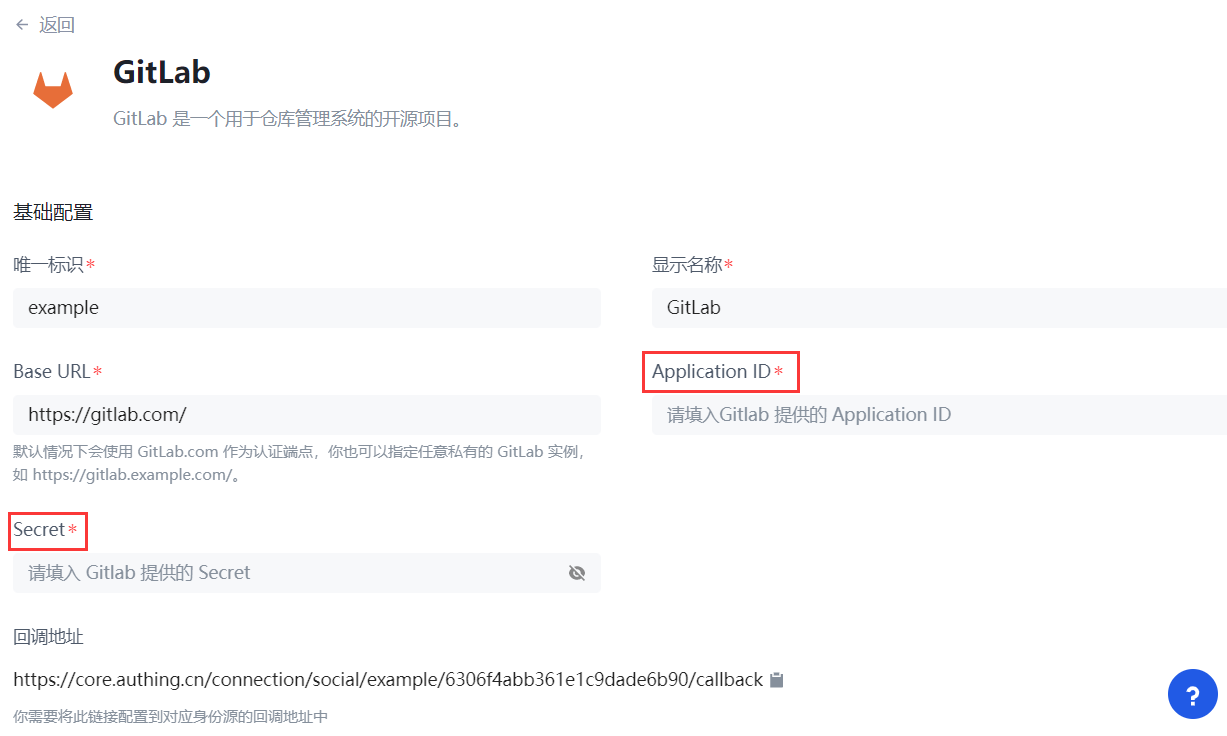
- Set the unique identifier on the GitLab configuration page.
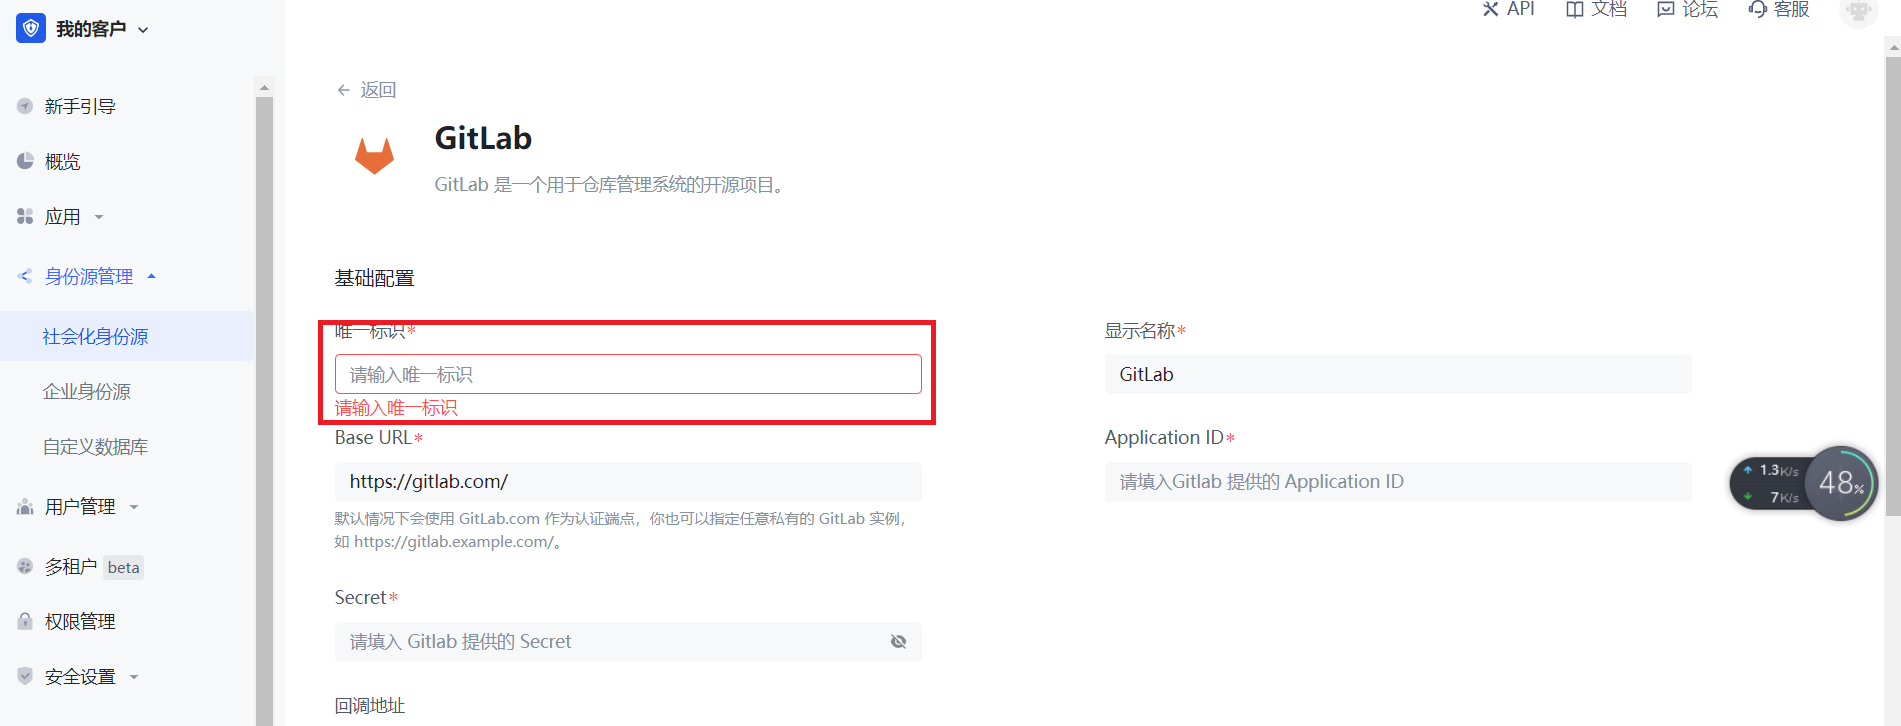
- Record the callback address that is automatically generated based on the unique identifier. You will need it later. Leave this page aside for now and configure other information later.
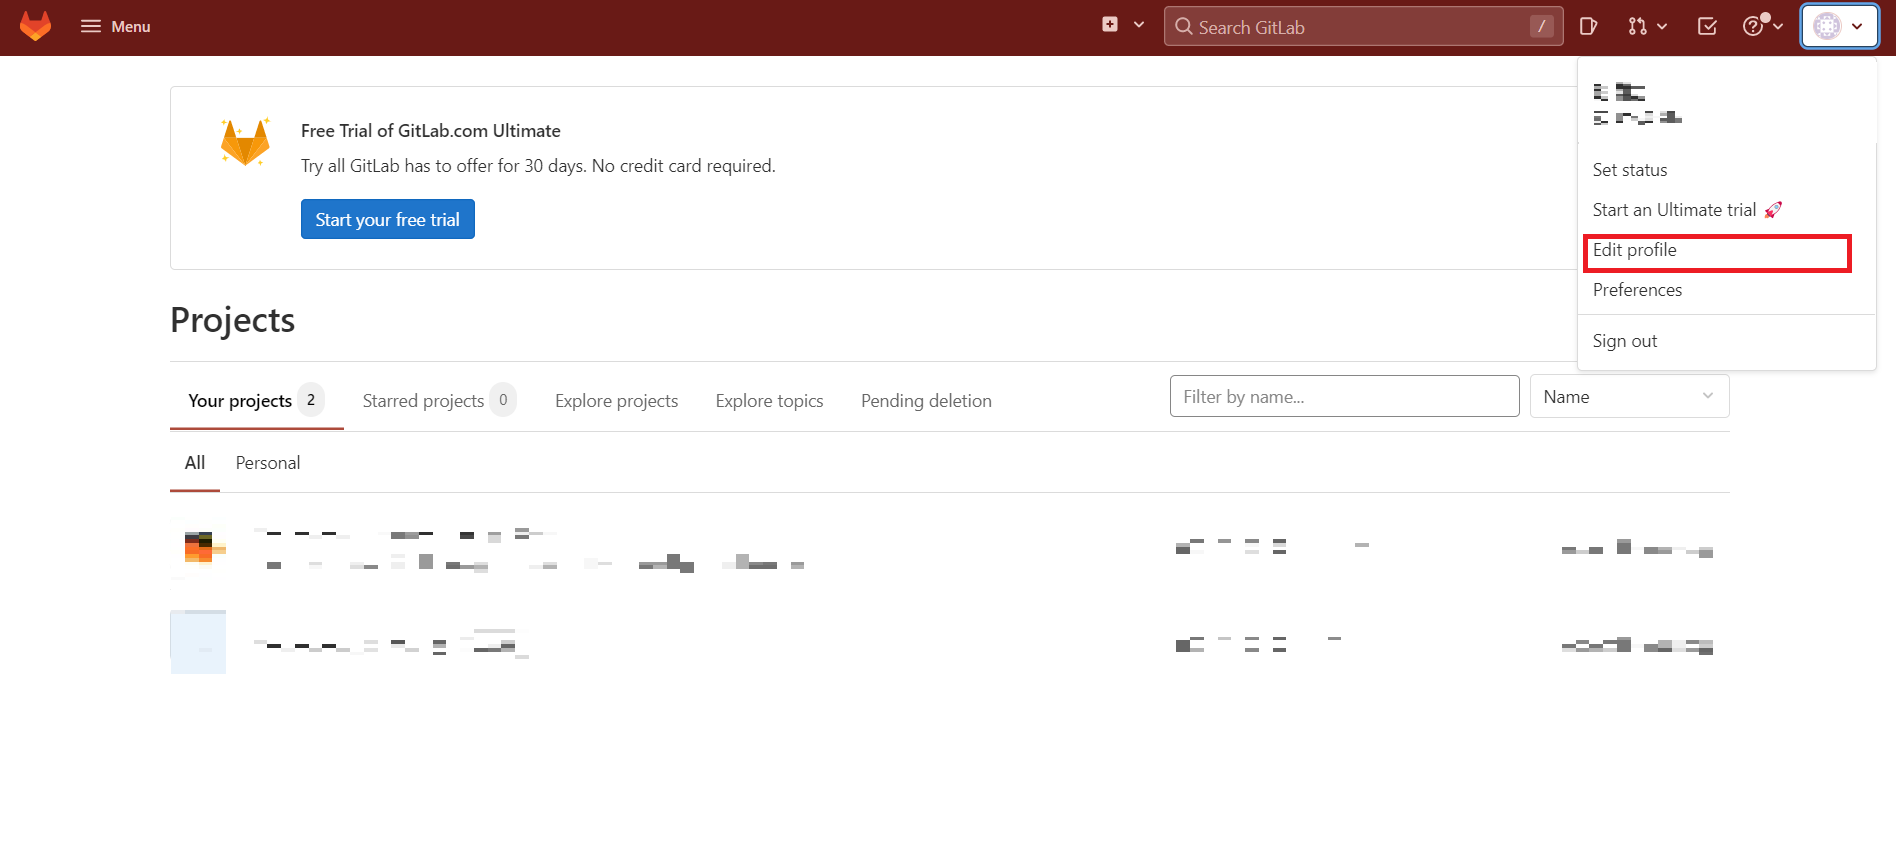
Step 2: Create an application on GitLab (or your GitLab instance)
- Click your profile picture in the upper right corner and click Edit Profile.
- Click Applications in the left navigation bar.
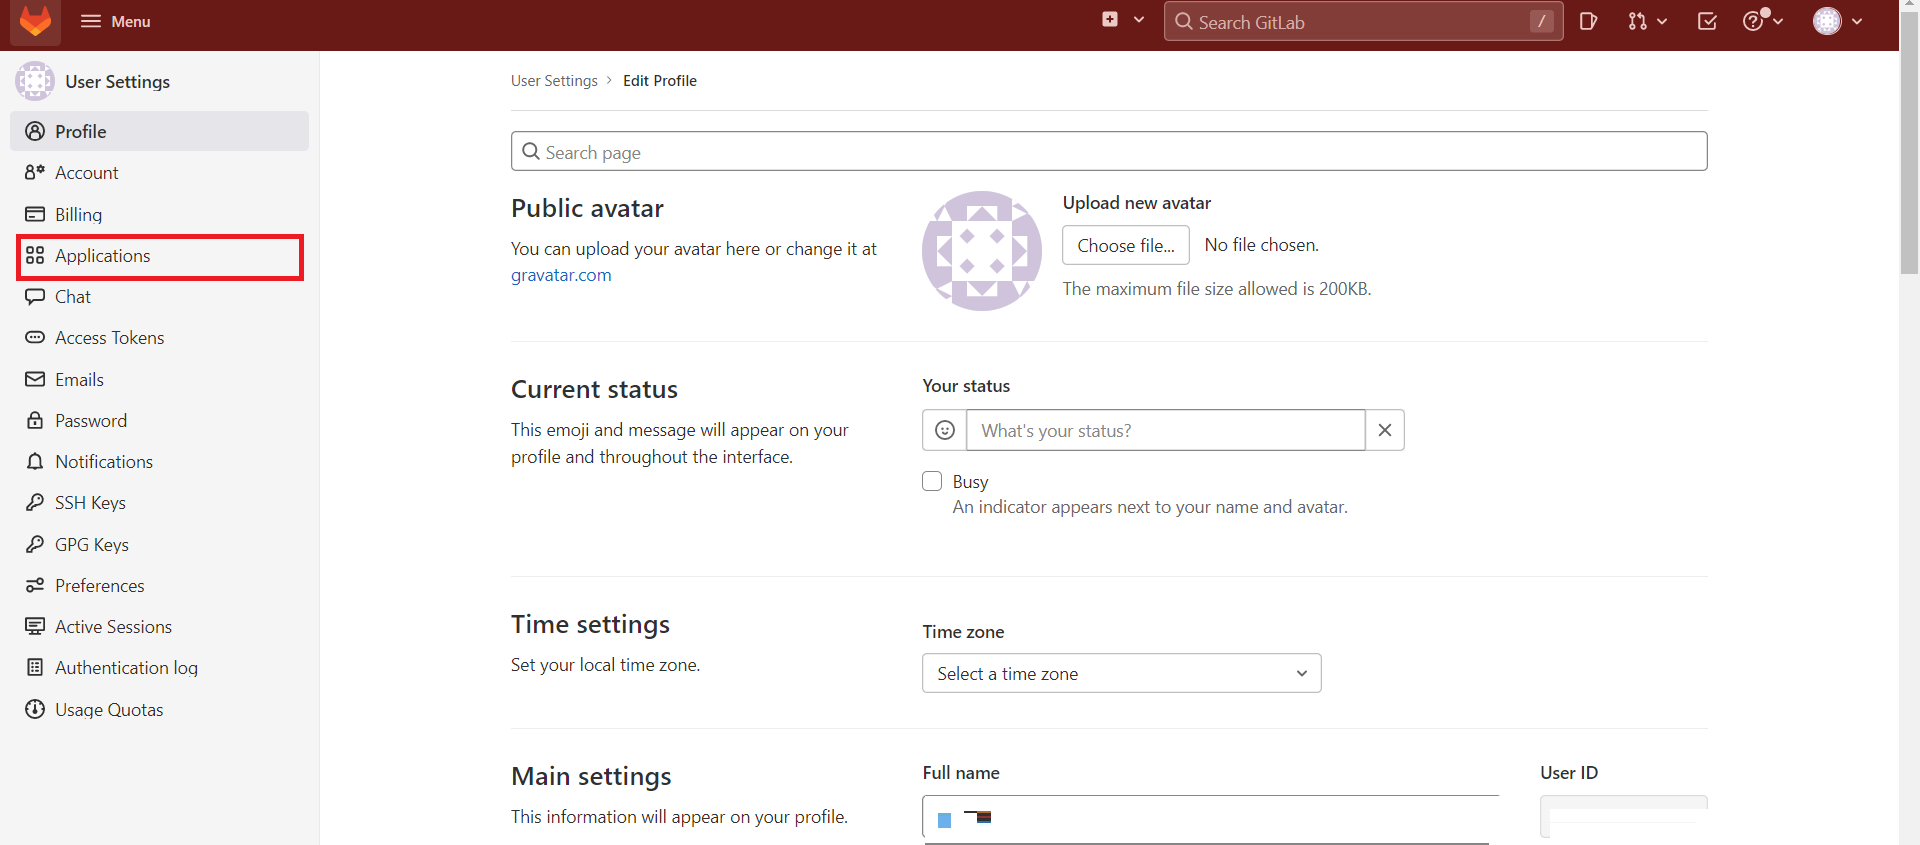
- Configure the application name.
- Configure Redirect URI and fill in the callback address you just recorded.
- Add Scopes: Check
apiandread_user.
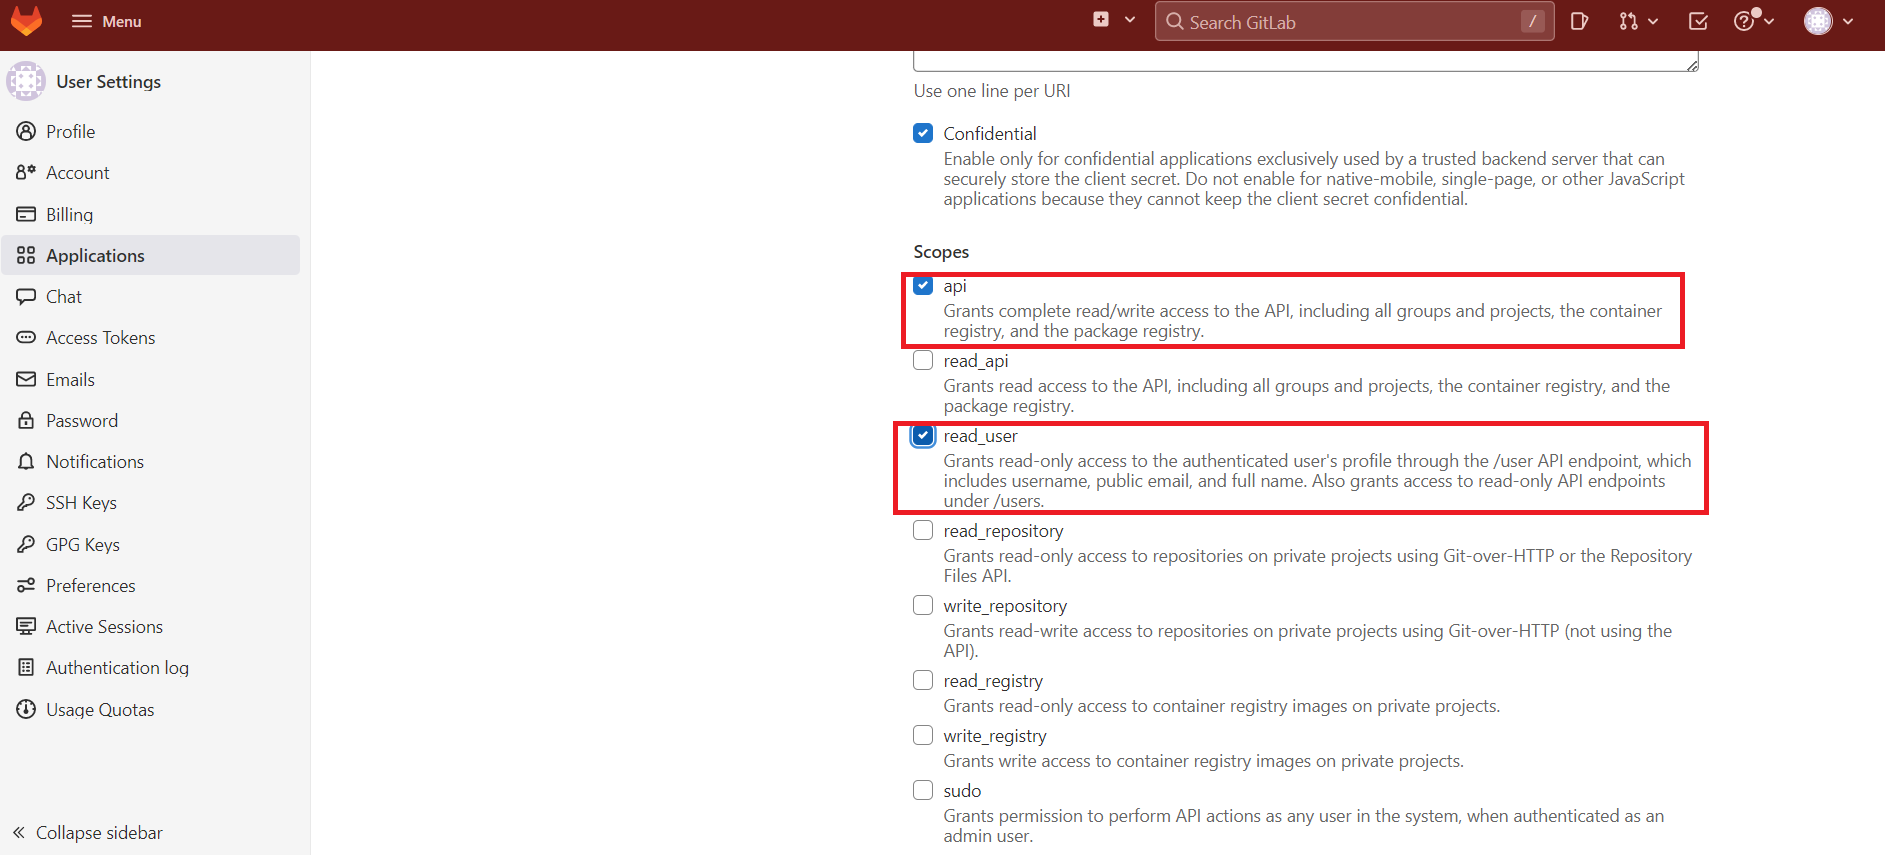
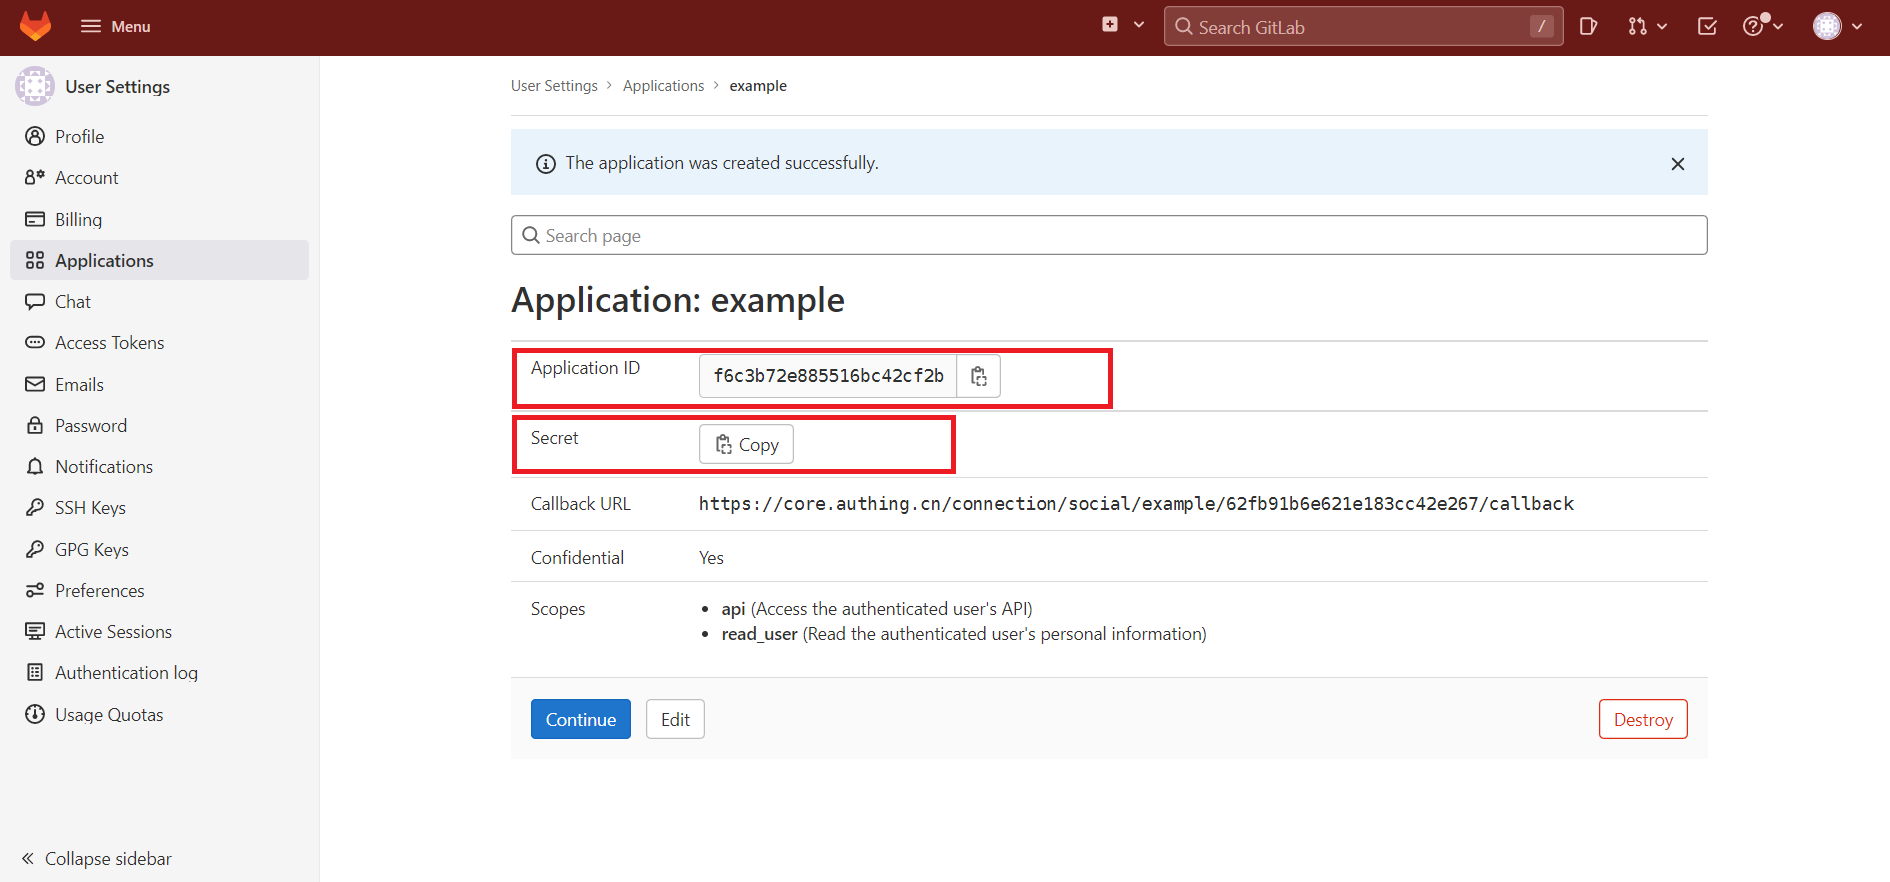
Click Save Application.
After the creation is complete, record the Application ID and Secret, which will be used in the next step.
Step 3: Complete the configuration of Gitlab other information in the console
- Fill in the Application ID and Secret just recorded.
- Choose to modify other information. If you do not modify, use the default option (this step is optional).
| Field | Description |
|---|---|
| Unique ID | _ The unique ID consists of lowercase letters, numbers, and -, and is less than 32 characters long. _ This is the unique ID for this connection and cannot be modified after setting. |
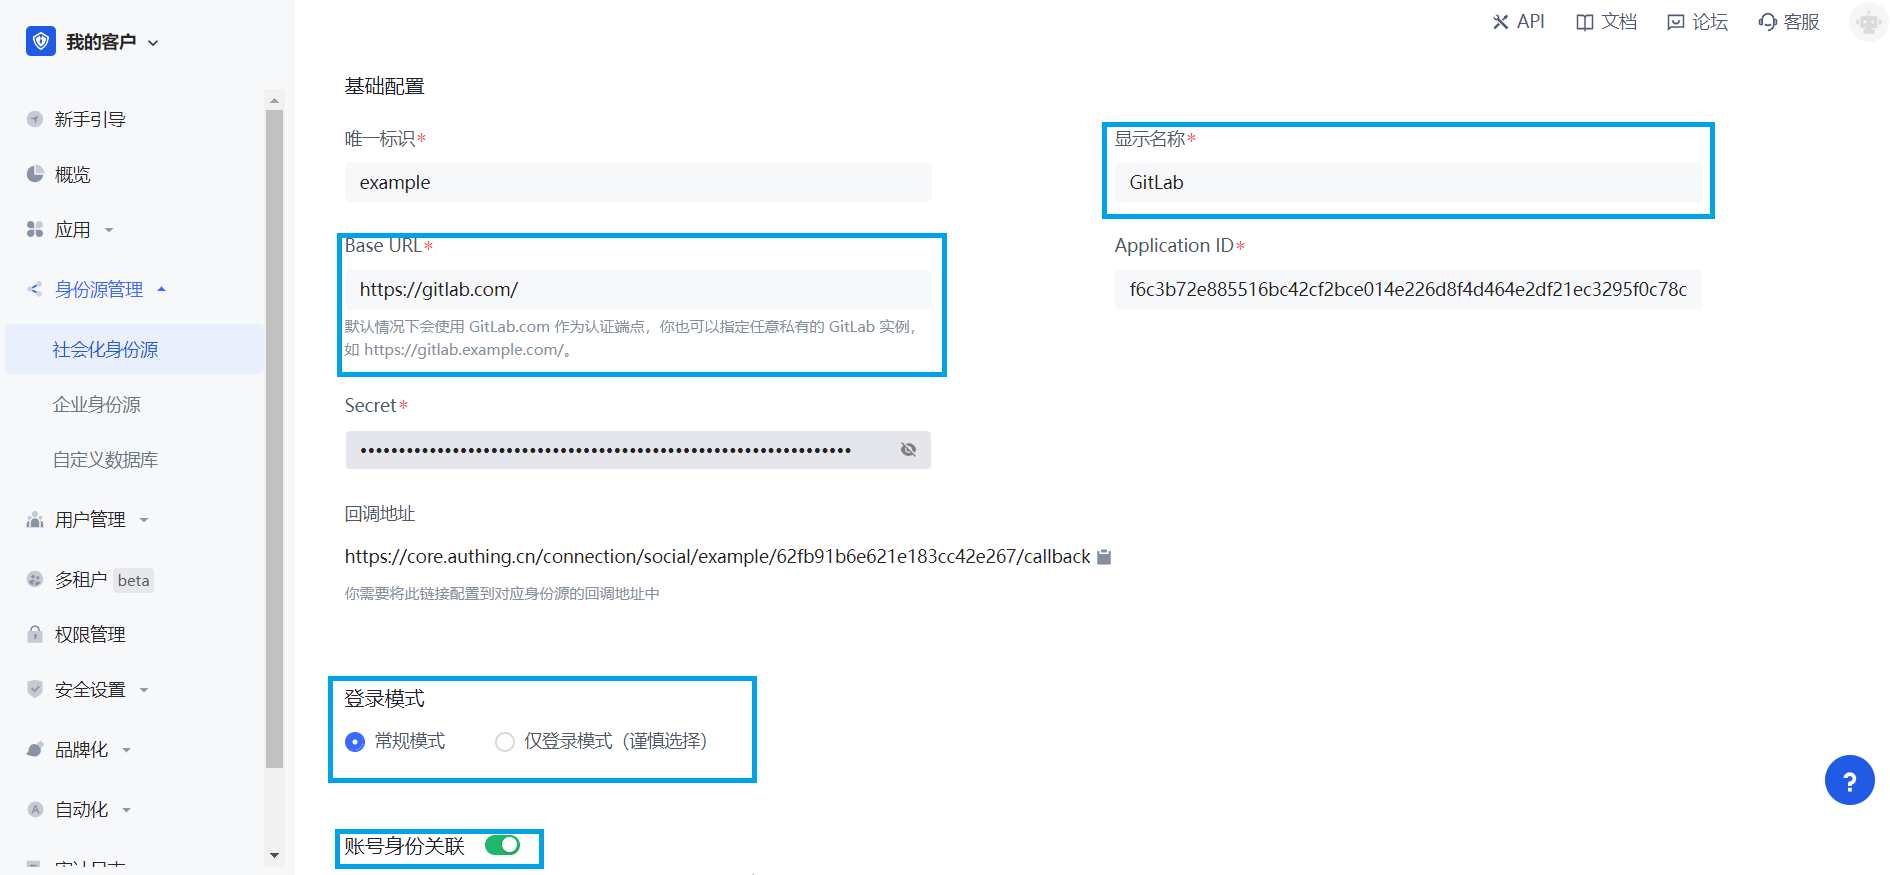
| Display Name | This name will be displayed on the button of the end user's login interface. |
| Base URL | By default, GitLab.com is used as the authentication endpoint. You can also specify any private GitLab instance, such as https://gitlab.example.com/. |
| Application ID | The GitLab application ID obtained in the previous step. |
| Secret | The GitLab application key obtained in the previous step. |
| Login Mode | After turning on Login-only mode, you can only log in to existing accounts, and cannot create new accounts. Please choose carefully. |
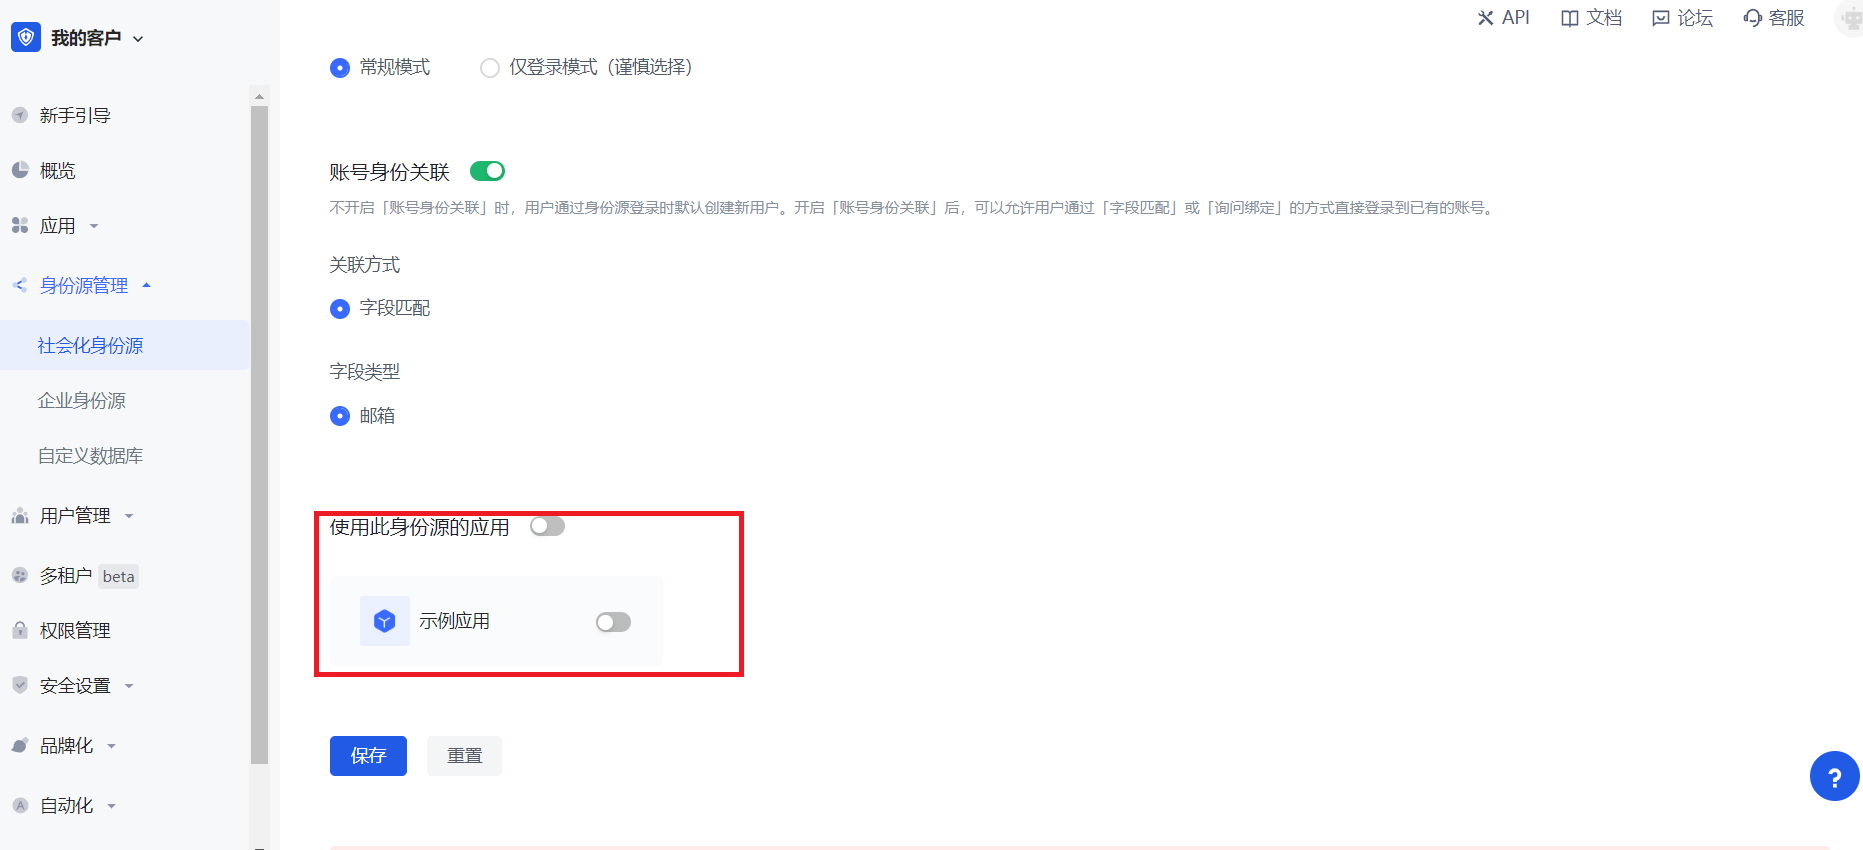
| Account Identity Association | When Account Identity Association is not enabled, a new user is created by default when a user logs in through an identity source; when Account Identity Association is enabled, users can log in directly to an existing account through Field Match or Query Binding. |
- After the configuration is complete, click Create or Save to complete the creation.
Step 4: Development Access
Recommended Development Access Method
Use a hosted login page.
Advantages and Disadvantages
Operation and maintenance are simple, and GenAuth is responsible for operation and maintenance. Each user pool has an independent second-level domain name. If you need to embed it into your application, you need to log in using the pop-up mode, that is: after clicking the Login button, a window will pop up with the login page hosted by GenAuth, or redirect the browser to the login page hosted by GenAuth.
Detailed access method
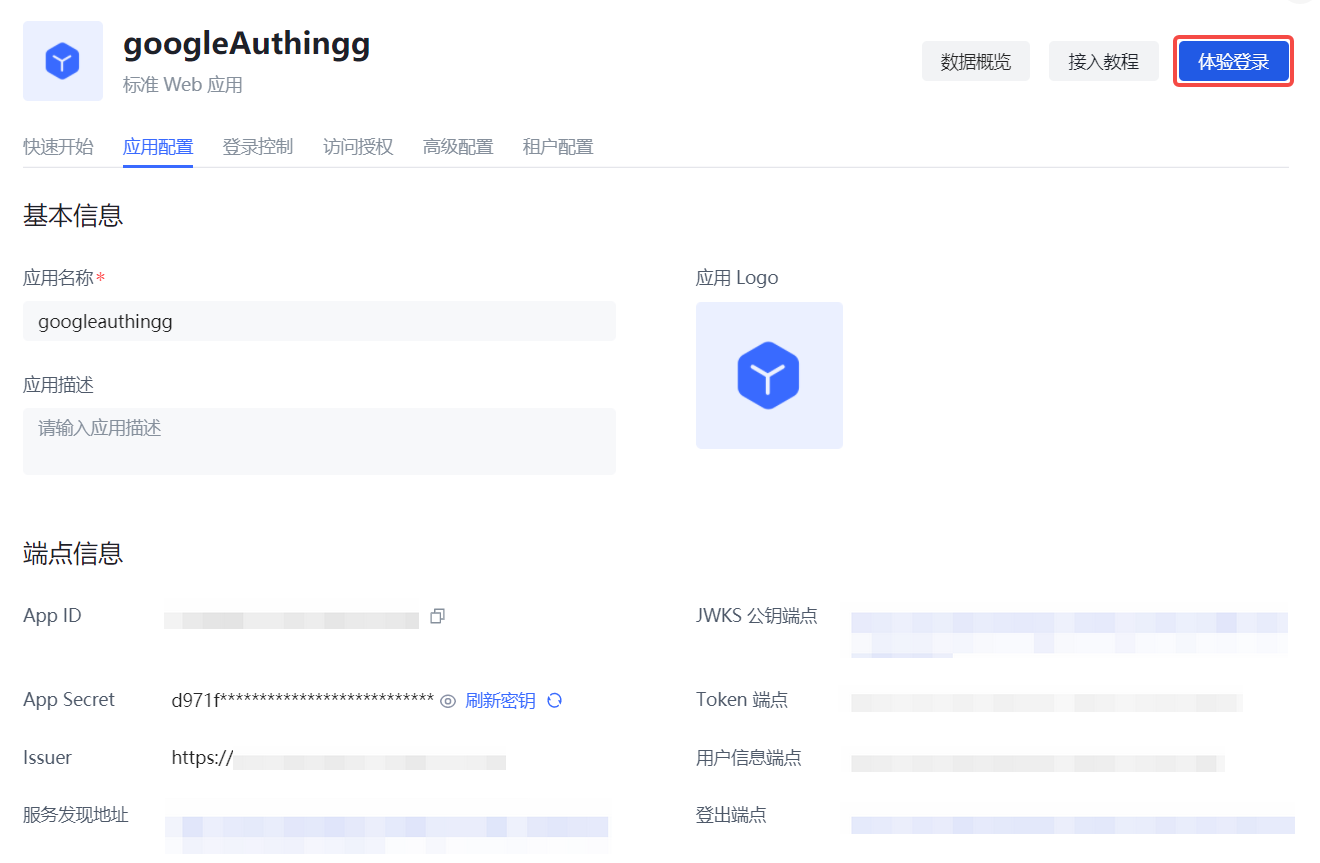
Create an application in the GenAuth console. For details, see: How to create an application in GenAuth.
On the created "GitLab" identity source connection details page, open and associate an application created in the GenAuth console.
- Click the GenAuth console application Experience login button to experience GitLab login in the pop-up login window.